KS4 Subaru Sambar: How to replace the Distributor Rotor/Cap/O Rings
How to replace the Distributor Rotor/Cap/O Rings on our KS4 Supercharged Subaru Sambar:
Open the rear engine access compartment cover underneath the rear gate. It helps to press the top of the cover inwards towards the front of the truck while you turn the key, especially if it hasn’t been opened in a while [Image 1].
[Image 1]
Once open, the top of the engine can be accessed as well as the exhaust system and distributor [Image 2].
[Image 2]
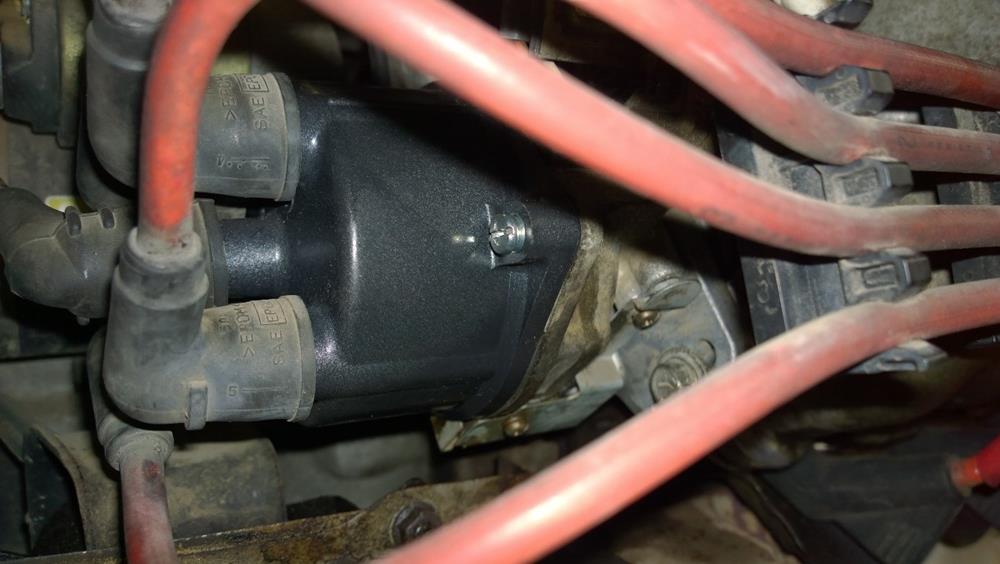
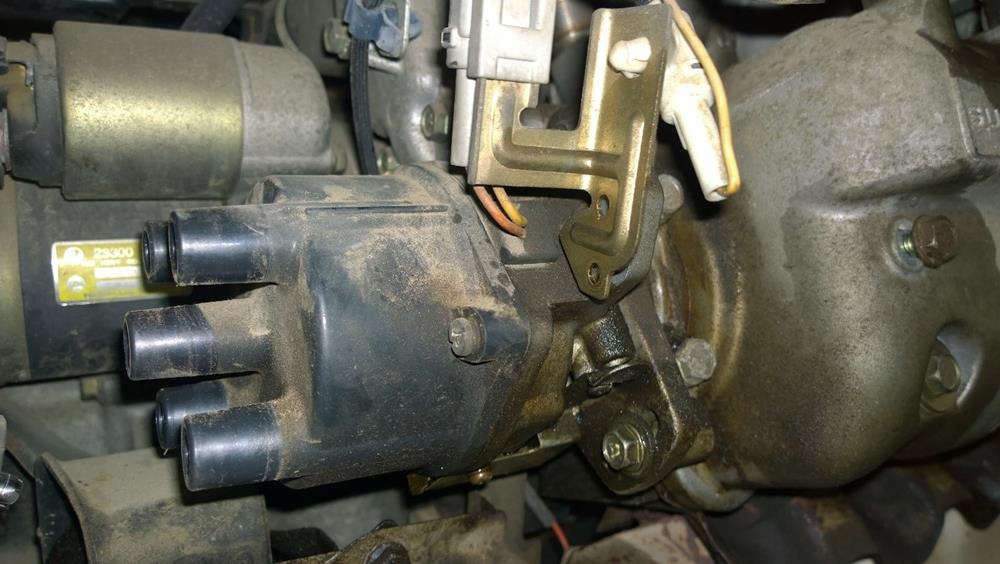
Picture of the Distributor, Coil, Starter motor and Solenoid [Image 3].
[Image 3]
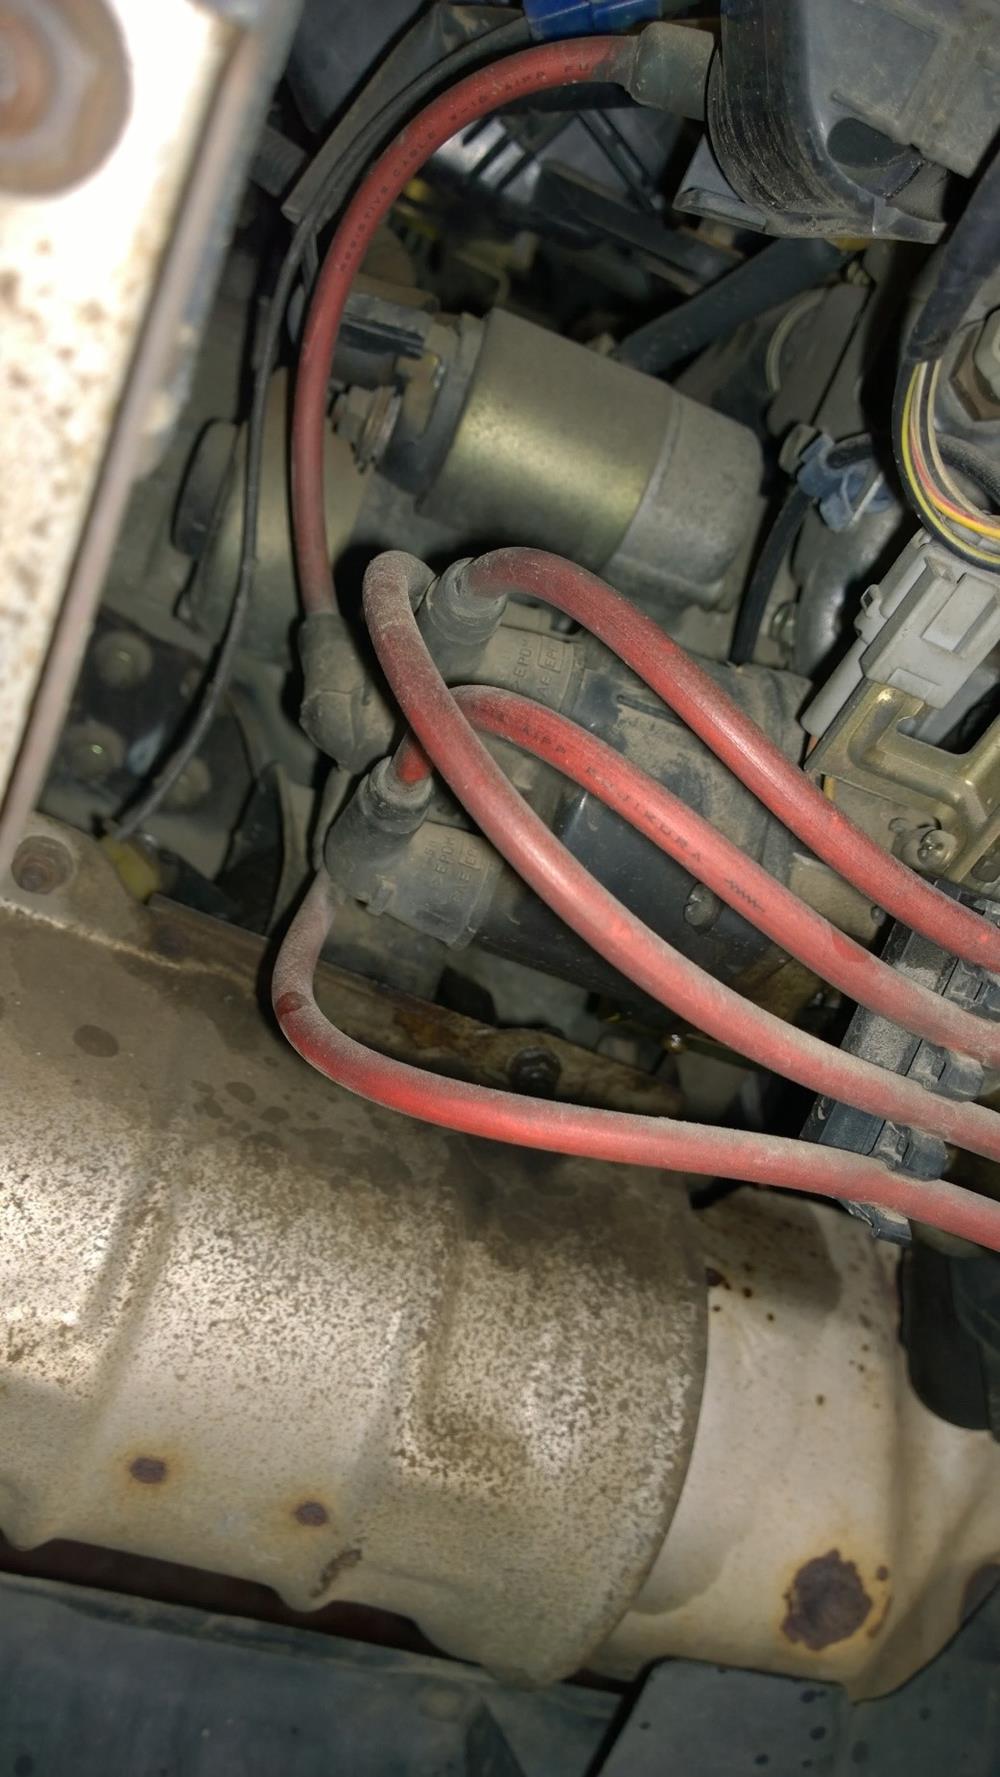
Remove the spark plug wires and the coil-distributor wire, taking note of which wires go to which spot as they will need to go back in the same order. BTW, the reason the bolts look “wet” is because they were sprayed with a penetrating oil before to help with disassembly [Image 4].
[Image 4]
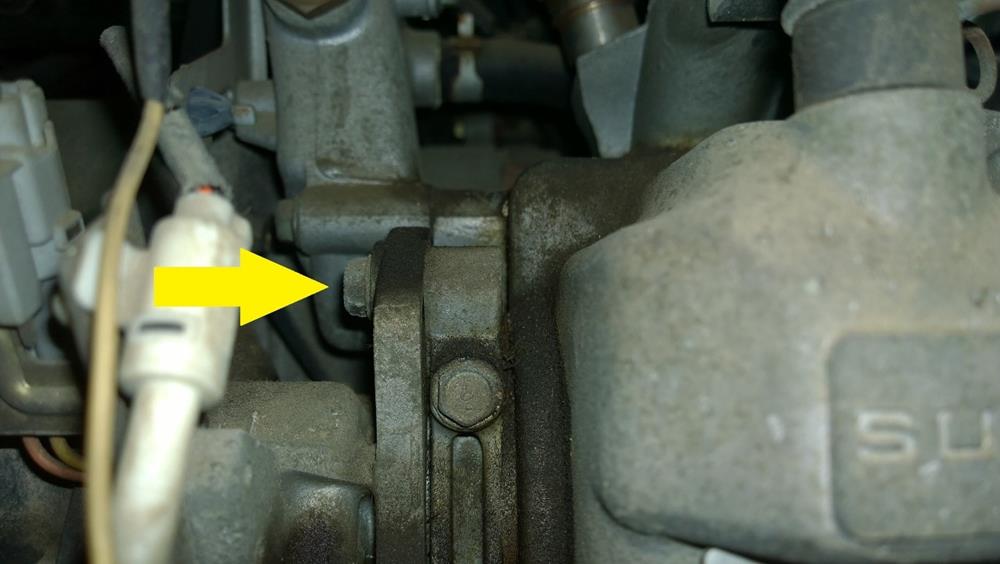
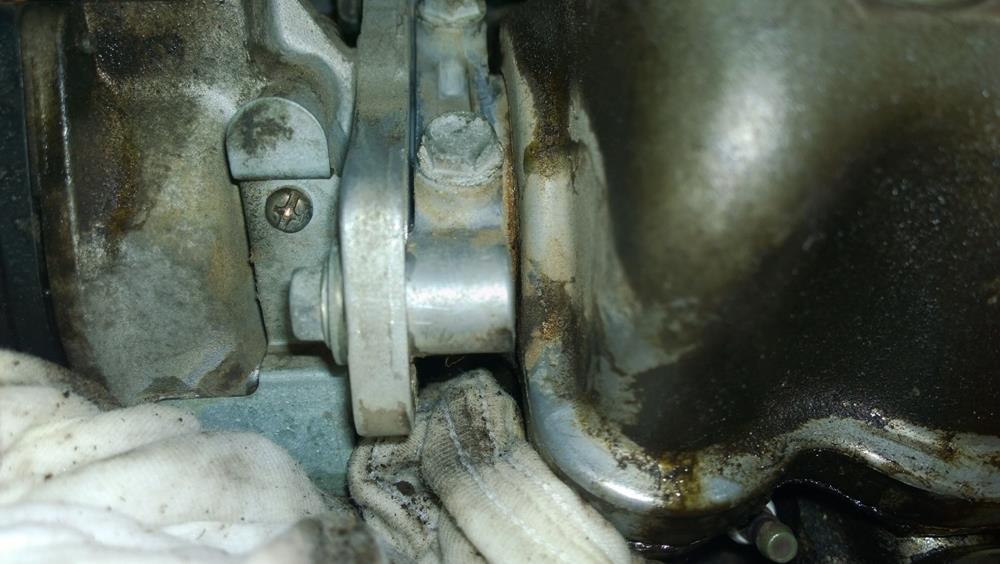
This is one of two bolts (bottom) that holds the distributor to the engine [Image 5].
[Image 5]
Here is the top bolt [Image 6].
[Image 6]
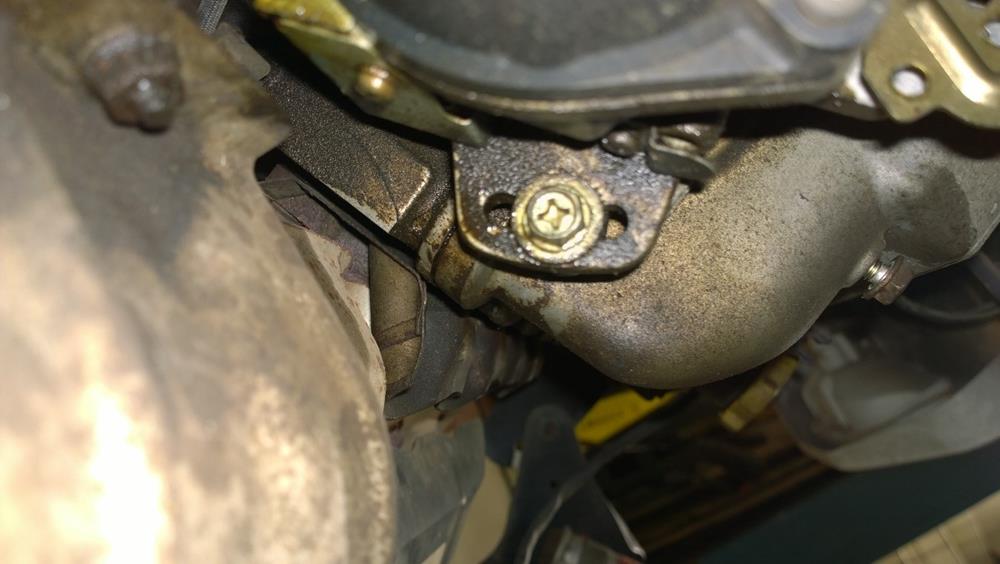
Wipe down the bottom bolt or spray with some degreaser to clean it up and scratch some marks into the base so that the distributor can be replaced at the same position that it is removed from. The previous owner had already done this on ours, so we did not add any to ours. Of course, if you own or have access to a timing gun, this is not necessary [Image 7].
[Image 7]
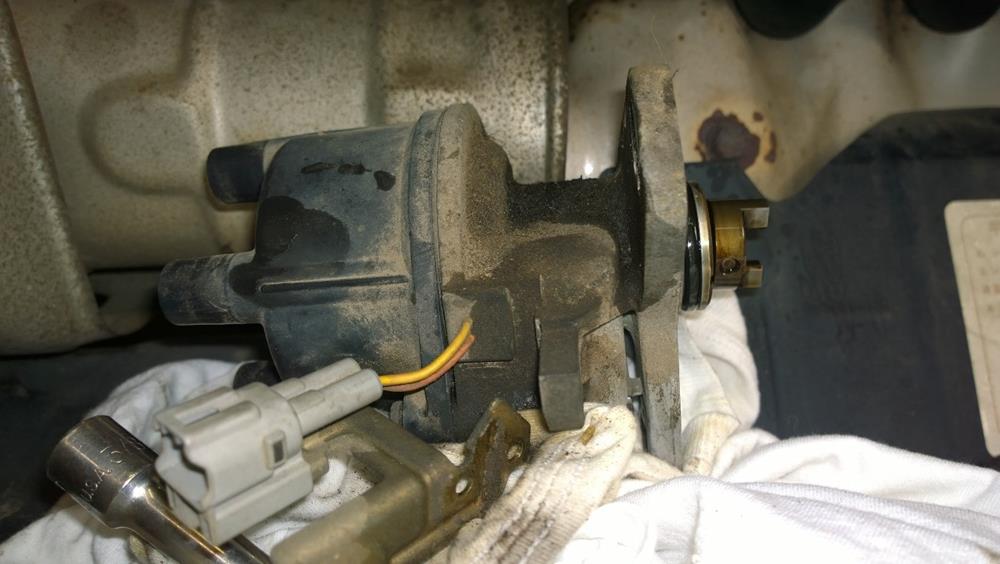
Unclip the wires and remove the two bolts mentioned above, making sure you do not rotate the base of the distributor when you remove. The tang is offset so it only fits one way but it is still a good idea to remember how it is clocked when you remove the distributor for easy installation [Image 8].
[Image 8]
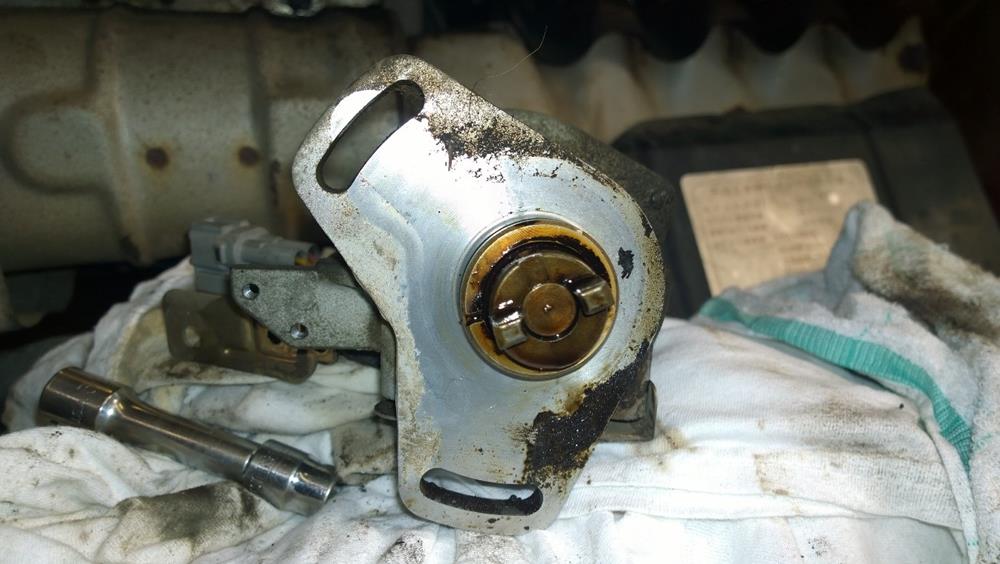
You can see which way the tang is supposed to fit by taking a picture of the slot [Images 9 & 10].
[Image 9]
[Image 10]
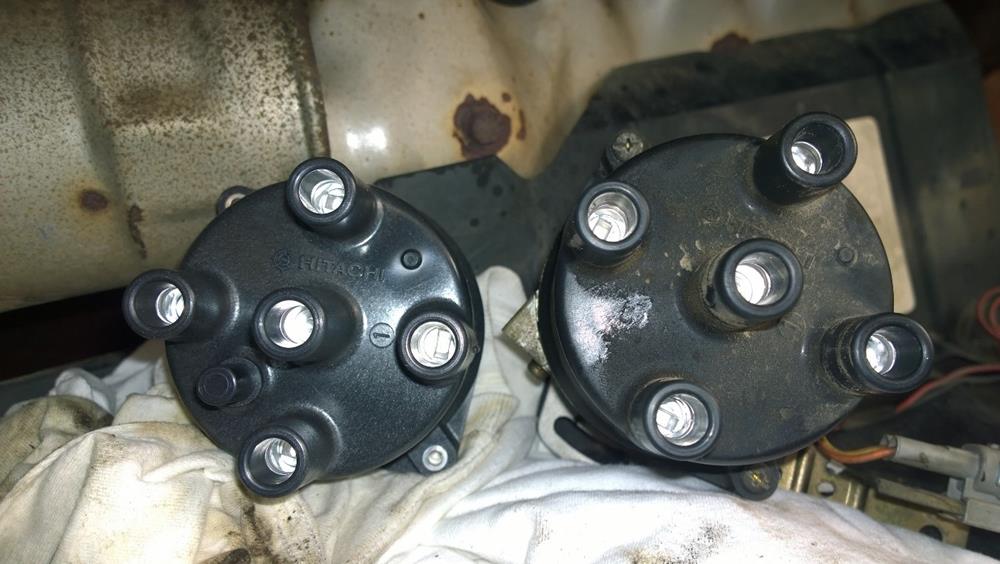
New cap VS Old. Both made by Hitachi, they added a nub to the newer one. The minus mark and logo should be in the same position as the old one. Even with no marks the cap should fit either way [Image 11].
[Image 11]
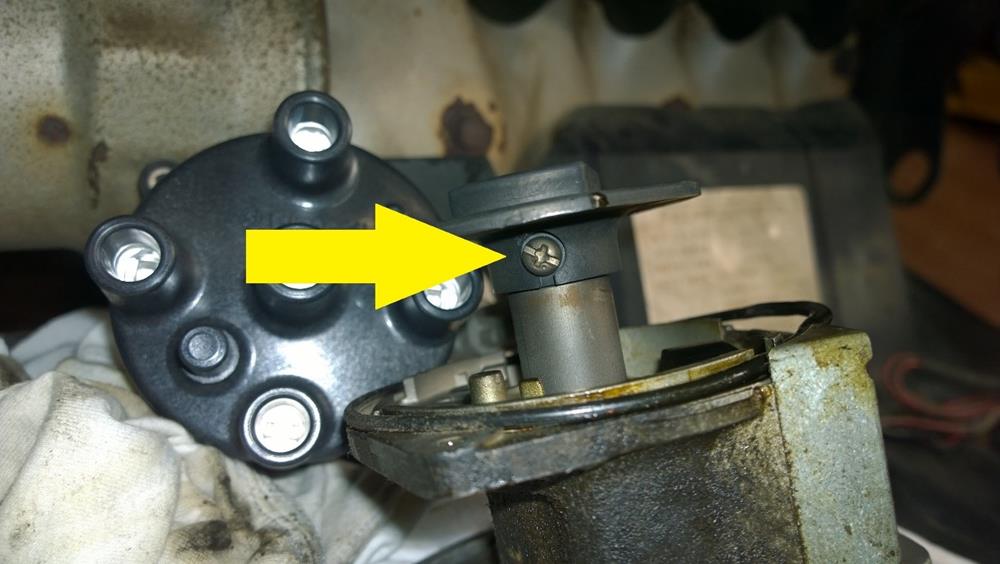
Remove the two screws holding the cap to the distributor. Once open, remove the screw holding the rotor to the spindle and remove the rotor [Image 12].
[Image 12]
New Rotor VS Old [Image 13]
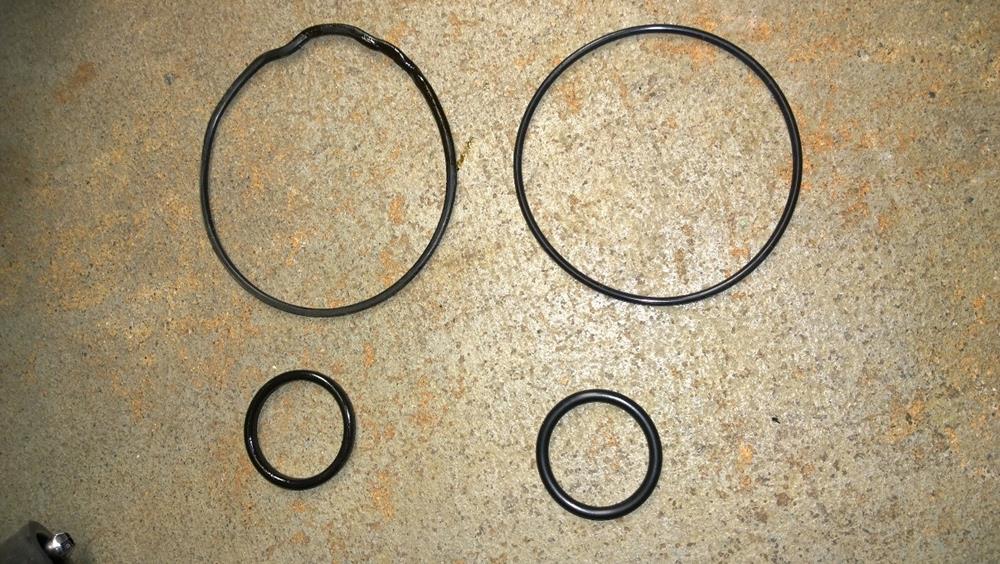
Pry out the thick o-ring on the base of the distributor taking care not to scratch the groove. Also, remove the thin o-ring for the distributor cap.
Old O-rings VS New [Image 14]
[Image 14]
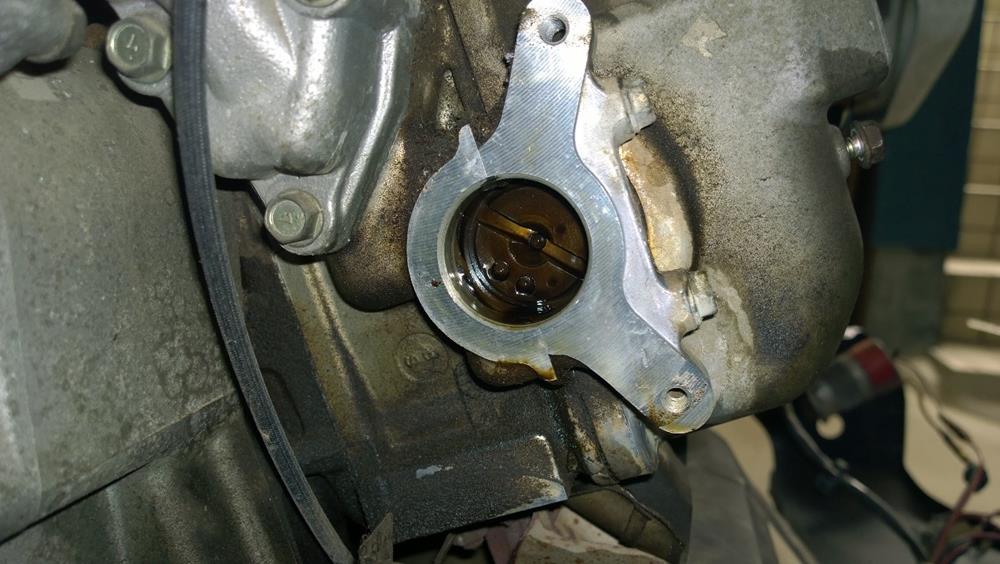
Wipe down the base of the distributor and clean the matching area on the engine side. Slightly grease or oil the new oil rings, and replace. Replace the rotor and screw in the new distributor cap. Adjust the tang to match the groove and slide the distributor back into its original position. Making sure to line up the marks on the housing and base (or use a timing gun to adjust position), tighten the two bolts at the base of the distributor, clip in the wiring harness and replace the spark plug wires in the original position [Image 15].
[Image 15]
At Japan Car Direct, we can help you find and ship a Kei Truck or other vehicle to your country at a reasonable price. We can also help you find parts for maintenance of your Japanese import. Please contact us for any questions!
Contact Japan Car Direct today. We can help you find, purchase and import the secondhand car you seek at a reasonable price from auctions and dealers all over Japan.


 Pry out the thick o-ring on the base of the distributor taking care not to scratch the groove. Also, remove the thin o-ring for the distributor cap.